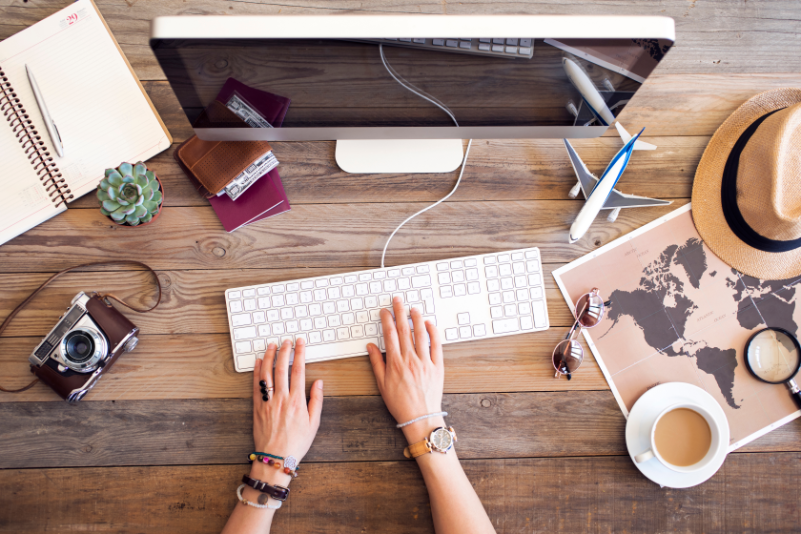
Industry data shows that having at least 6-9 high-quality photos for each product can significantly increase the chances of securing a booking. Your photos reveal to potential customers what really makes your tours special. In this photography tutorial, learn techniques from Viator’s in-house photographer and photo expert that will help you take better photos for your website, OTA product pages, and social media channels.
They say a picture is worth a thousand words. So what story are you telling potential customers with your photos on your online listings? It’s important that you get it right, and it doesn’t have to cost a fortune. When travelers are planning tours or activities, quality photos will really elevate your company above the competition.
In this tutorial video, you’ll learn tips such as:
- Proper lighting techniques and using natural light for more vivid photos
- How to tell the whole story of your experience through photos
- Using candid (unposed) shots to make customers feel a closer connection
- Resolution tips for clearer, higher quality images
Read on for even more information about why these tips are so crucial, and how to incorporate them into your business.
Setting The Scene
Take time to think through and set up your shot. Consider the time of day that will give you the best light. Plan ahead for any logistics that may present challenges for shooting. If your tour or activity takes place at night, think about how you’re going to make sure everything looks good.
Composition Is Crucial
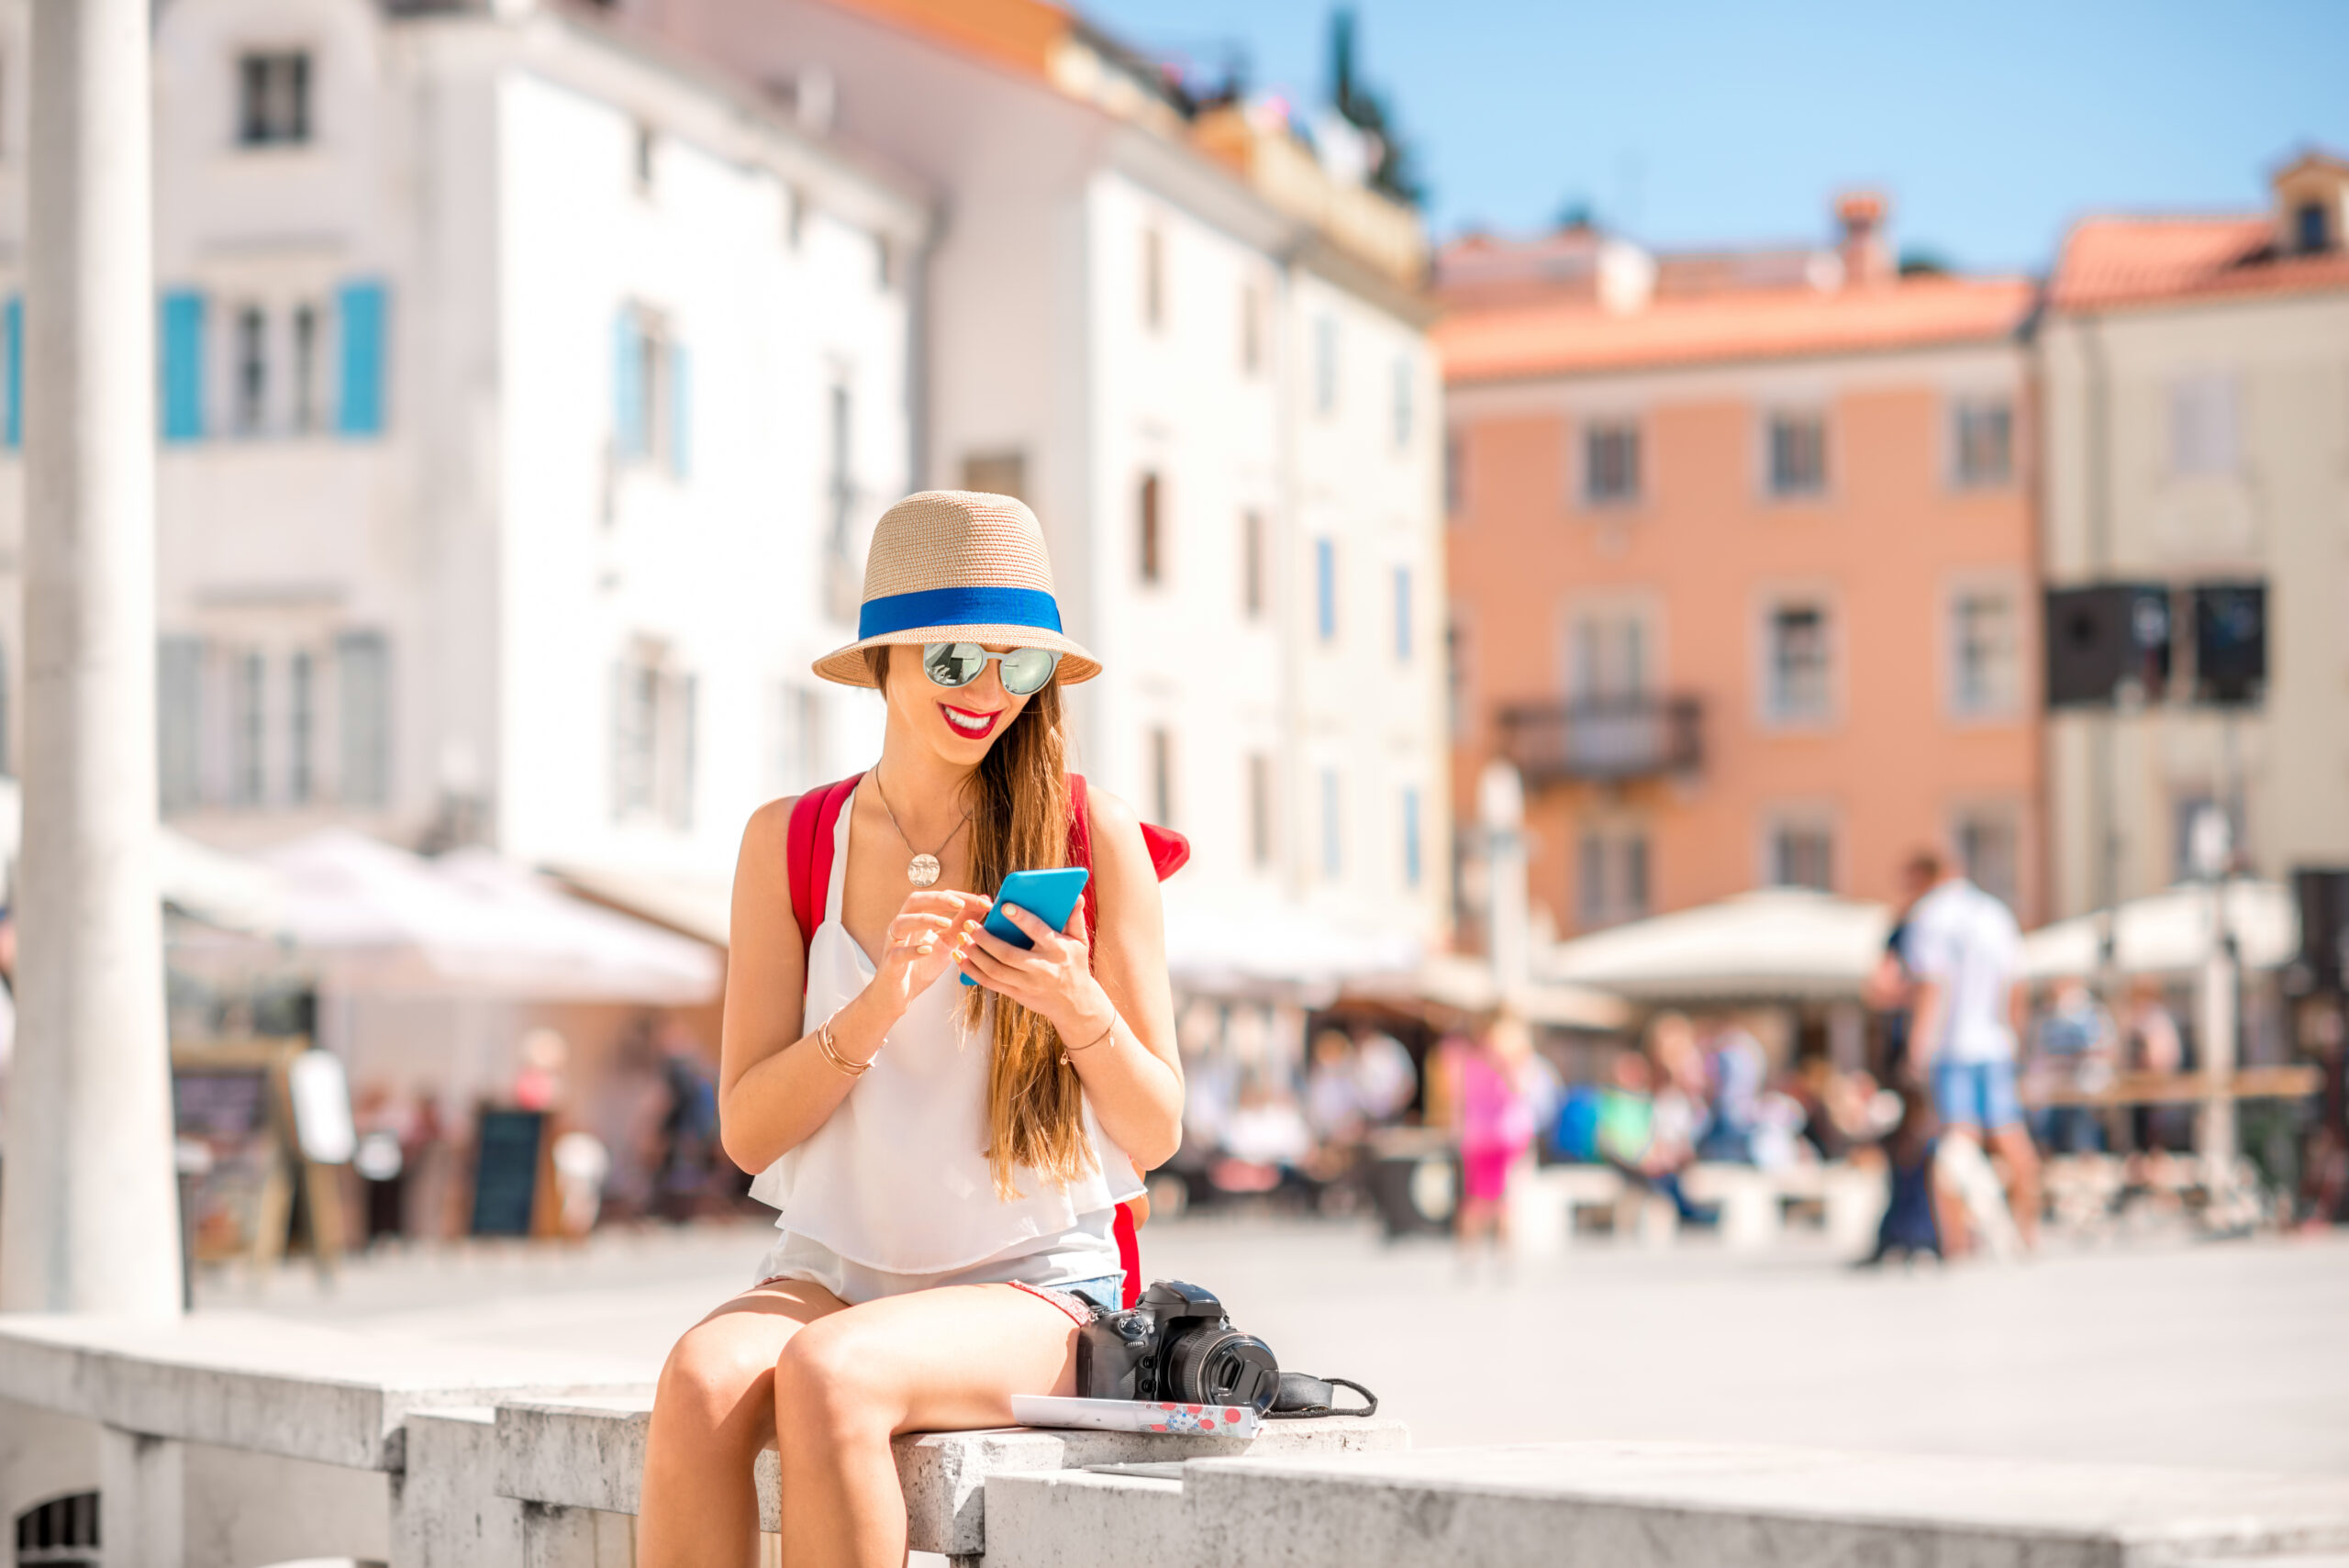
Lots of natural or artificial light help make photos more appealing and inviting. Seek out nice scenery, and fill your photos with happy, candid customers. Be judicious about overly staged photos, though, as these risk looking cheesy or inauthentic.
What you should include:
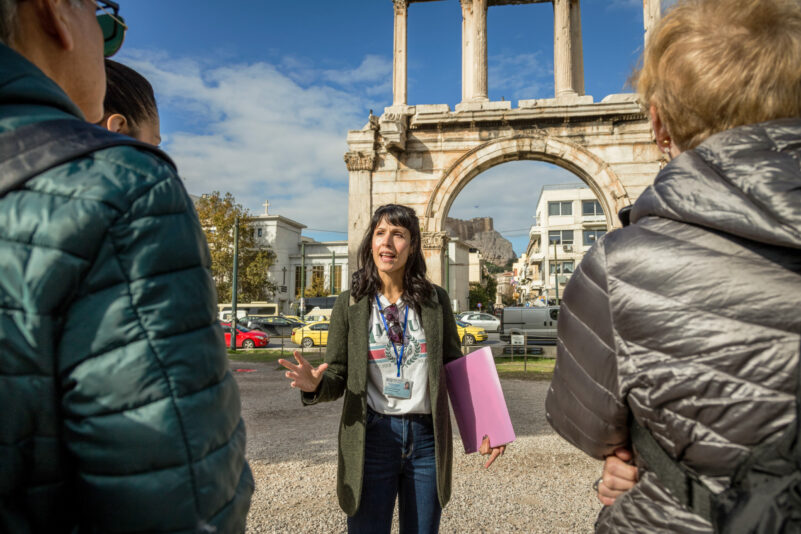
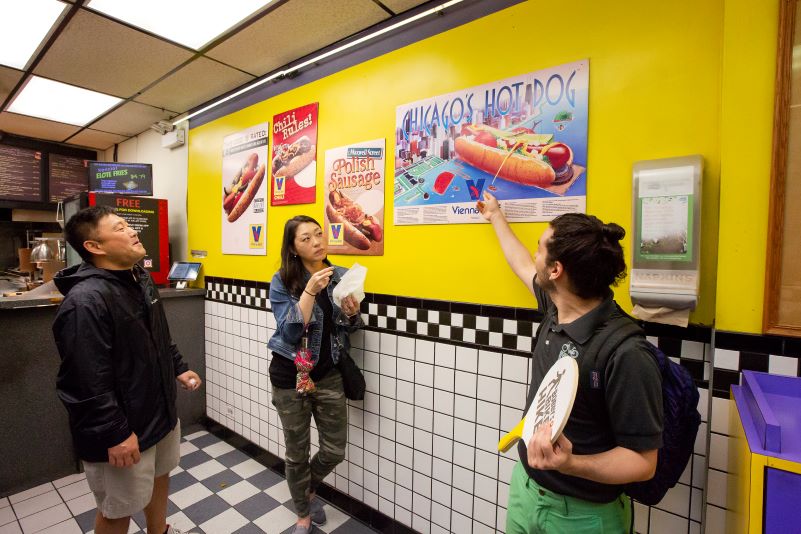
- Friendly, candid shots of your staff
- Tour or activity highlights accentuated by natural light
- Stunning scenery or otherwise visually appealing settings
What you should avoid:
- Shots of customers or staff looking directly at the camera
- Pictures of empty spaces where you’d expect people to be
- Action shots of customers where they look frightened or overexcited
- Overly busy compositions (avoid wide angle lenses or panorama shots)
Get To Know Your Equipment
You no longer need to spend a fortune to create professional-looking photos. Cameras are getting better and cheaper every year. That said, it’s important to understand what you’re working with.
Take level shots, not at extreme angles; consider buying a small spirit level to improve your shots. To make sure all foreground and background objects are in equal focus, a small aperture on your camera can help. If your aperture is too large, it may blur the background. Tungsten lights shouldn’t be used, and you’ll want to keep an eye on ISO (the higher the number, the more sensitive the camera will be to light). You camera should be set at 400 ISO to keep image “noise” to a minimum.
It’s also a good idea to view test shots on a computer, as what looks okay in person might look odd in a photo.
Think About The Message Of Your Photos
Natural light is a hot trend in photography these days, as it’s a good way to showcase “lifestyle” elements of your business. The personal interactions and moments such an approach can convey can give your photos that elusive “editorial” feel. But be careful not to rely too much on fleeting trends, as they could make your photos dated in a few years. At the end of the day, it’s not about the photo itself—it’s about what you’re offering customers.
The bottom line is if you take the the time to create enticing images, while being aware of the message you’re sending, you’ll catch the attention of the customers you wish to attract.